Hi,
::LONG POST WARNING::
Its not something run of the mill, but im trying to replicate something i saw in render/design.
here is a ref of the same.
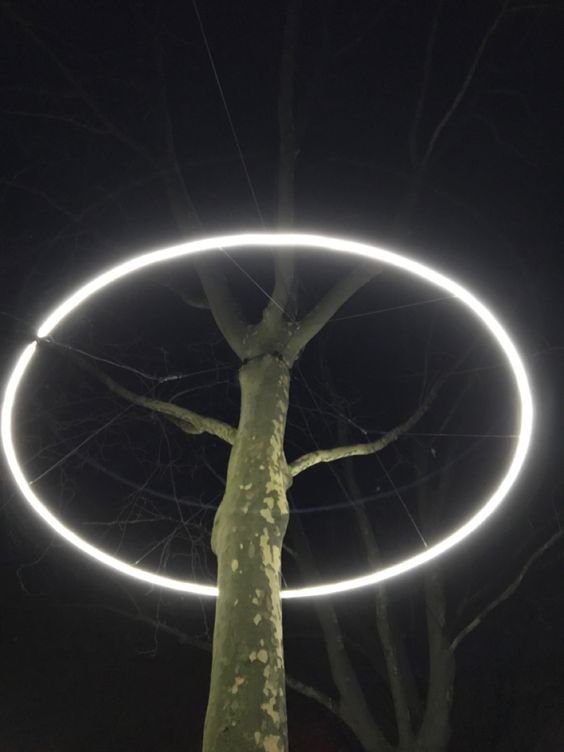
Now I recreated that and modeled it. (Which i realized later that its too big)
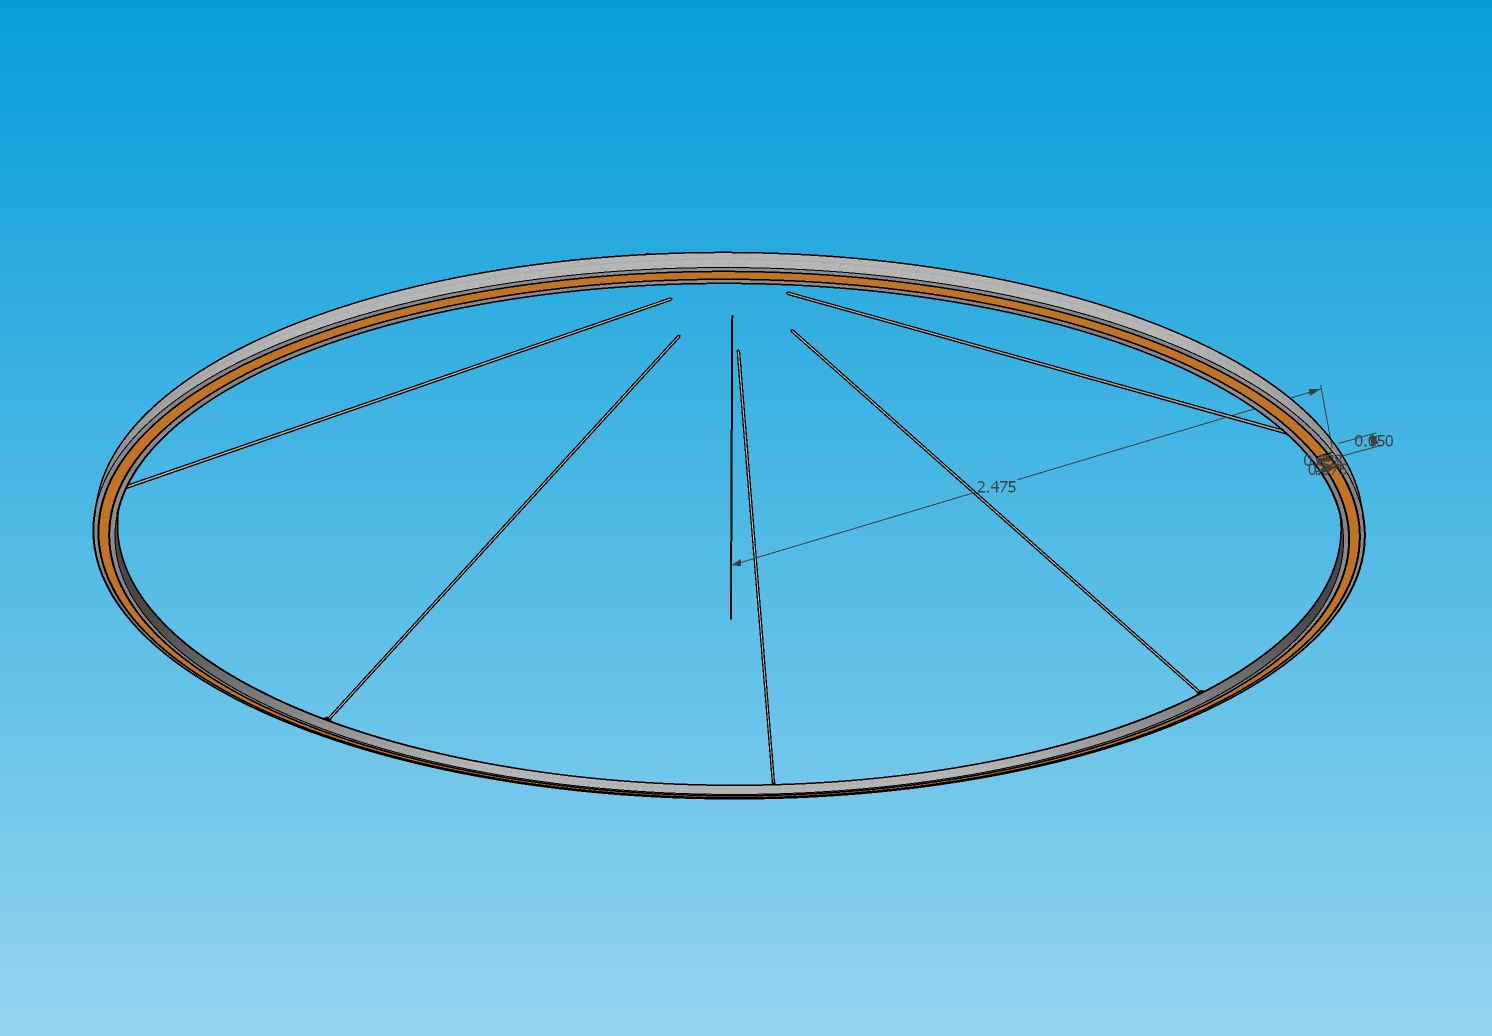
Then created a separate file for it in D5 and added it to my local assets.
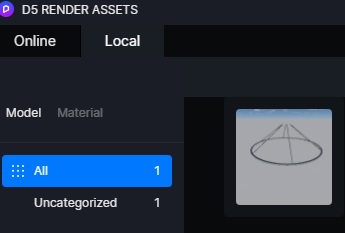
Im all about a progressive workflow so that i can use anything or tweak anything later again if needed.
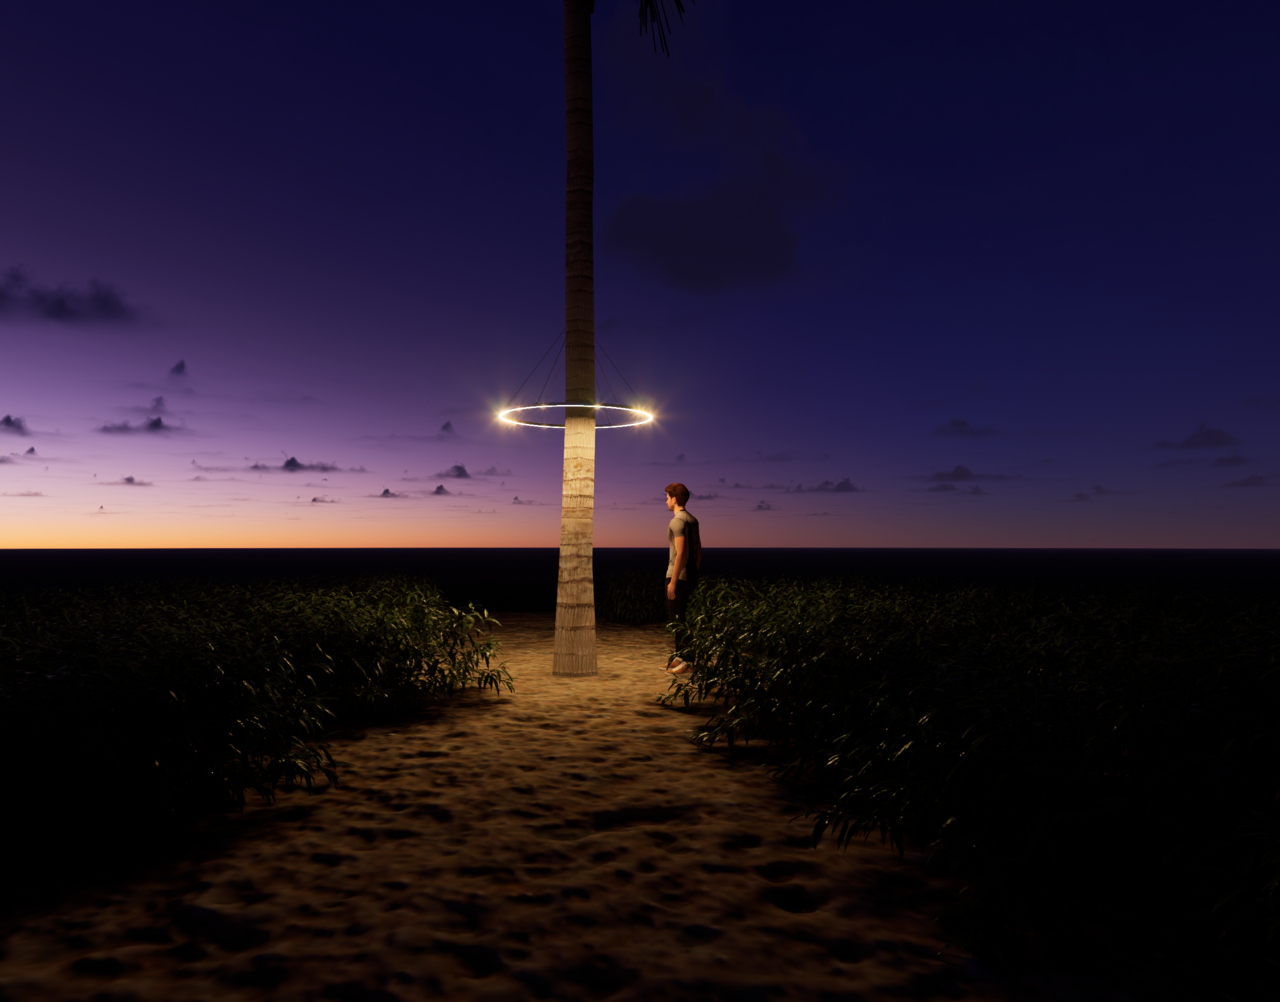
The height of this needs to be at least at a minimum of 2.1m so the light throw needs to be that much. Taking a size of 35mm of light with say the approx 30w LED rope light encased in a allum/metal frame, should suffice to illuminate the scene with such multiple light sources.
Here is the results of it.
The light intensity is at 100%
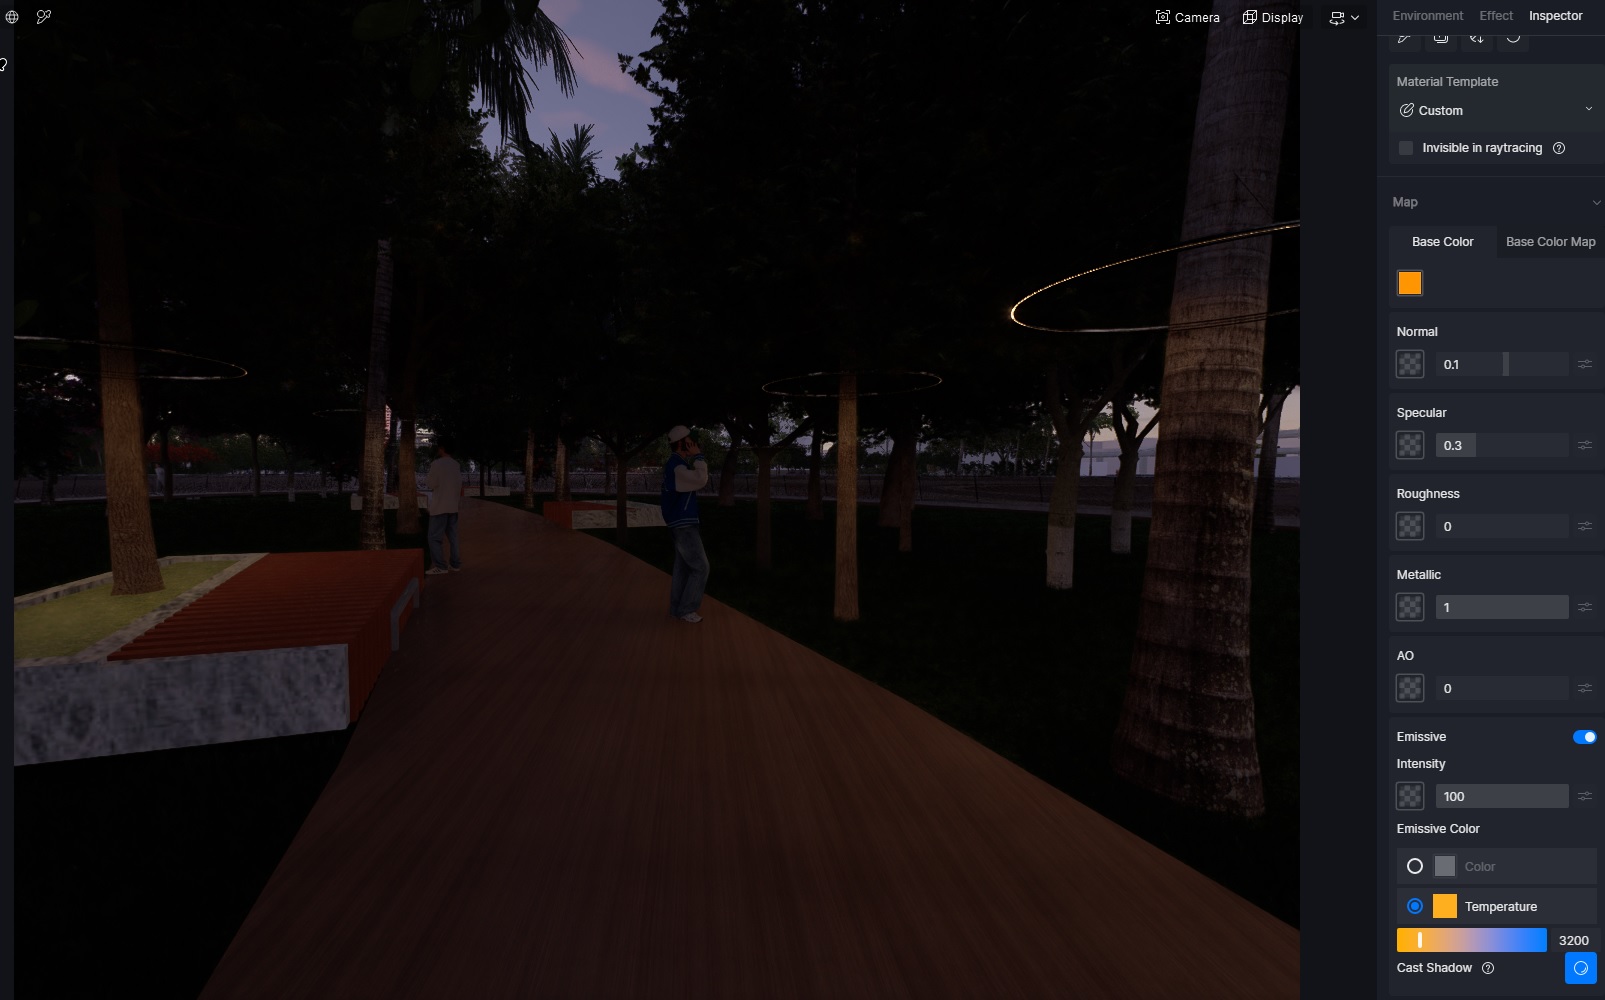
I had to scale the size of the object so as to make it fit at that said height with the existing tree asset. So I did not get the 35mm effective width light material emissions properly as i had scaled the asset to suit the render. Hence I will be rescaling and re-creating the 3dobject for the light and reduce the dia of it as well so as to get that effective 35mm dia needed for emitting as a material. Would it or should it matter the size of the material present in the scene?!
Post EDITING the Size of light, as per RnD:
Here is the result of reducing the size and understanding the lighting potential at height of 2.5m with a single tree and ground and scale with person. With the light intensity of 20.
Reloading the local asset, here is the result of the material emitting light:
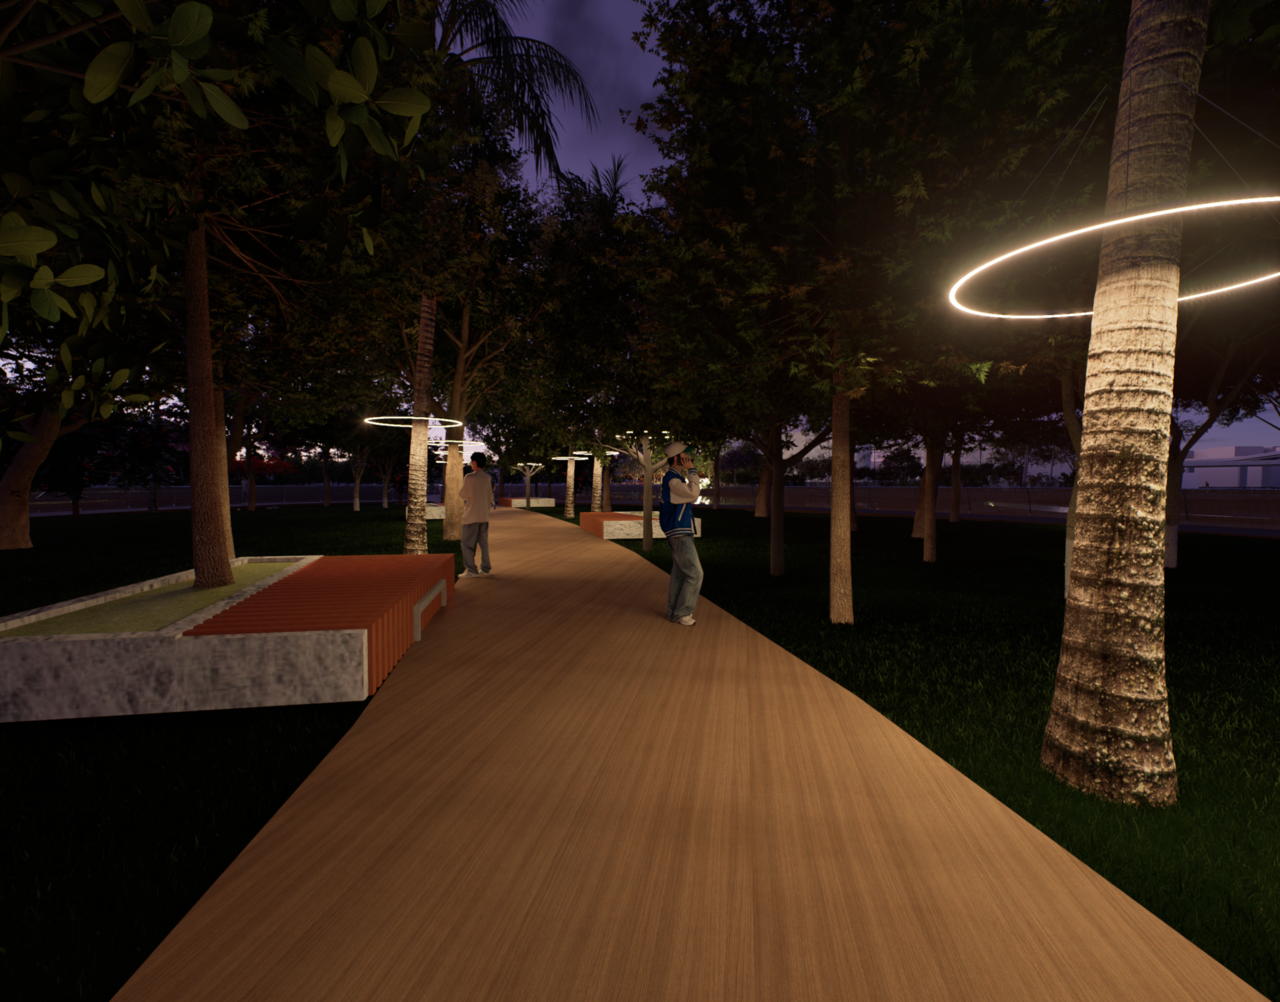
If you see the difference between the 2 images(above image render).
Why this is showing the light on the ground and a better render at that?
Its because the exposure is set to AUTO. I realized that setting the manual exposure either washes out the light intensity or washes out the image to be too bright.
The exposure has a key role towards the intention of the light intensity as seen in the images below.
EXPOSURE: 0
EXPOSURE: 0.5
EXPOSURE: 1
If I hadn’t put the exposure on Auto i would have never realized and would have been still cranking up the light material intensity to 80 or 100 expecting some light to show up onto the group populating the scene.
Some inputs and information towards workflow in D5 if it helps anyone.
Thanks
Monks
PS:
Could do more detailed study but this is part of a huge file:
Skethup:
SiteContext- 255mb MainFile1-100mb
D5 render: 7.05GB
(Only basefile/materials&sketchup=2.68gb, avgFPS:37)
(All d5assets=700mb:AvgFPS:17)
Intel(R) Core™ i9-9920X CPU @ 3.50GHz
RTX2080ti-12GB