For materials with small differences in height, normal mapping is often used to express the bump of a material’s surface, by controlling the orientation of the normal.
However, normal mapping only provides illumination information about the material’s surface, which is limited for materials with large height differences, especially if they have some occlusive relationships.

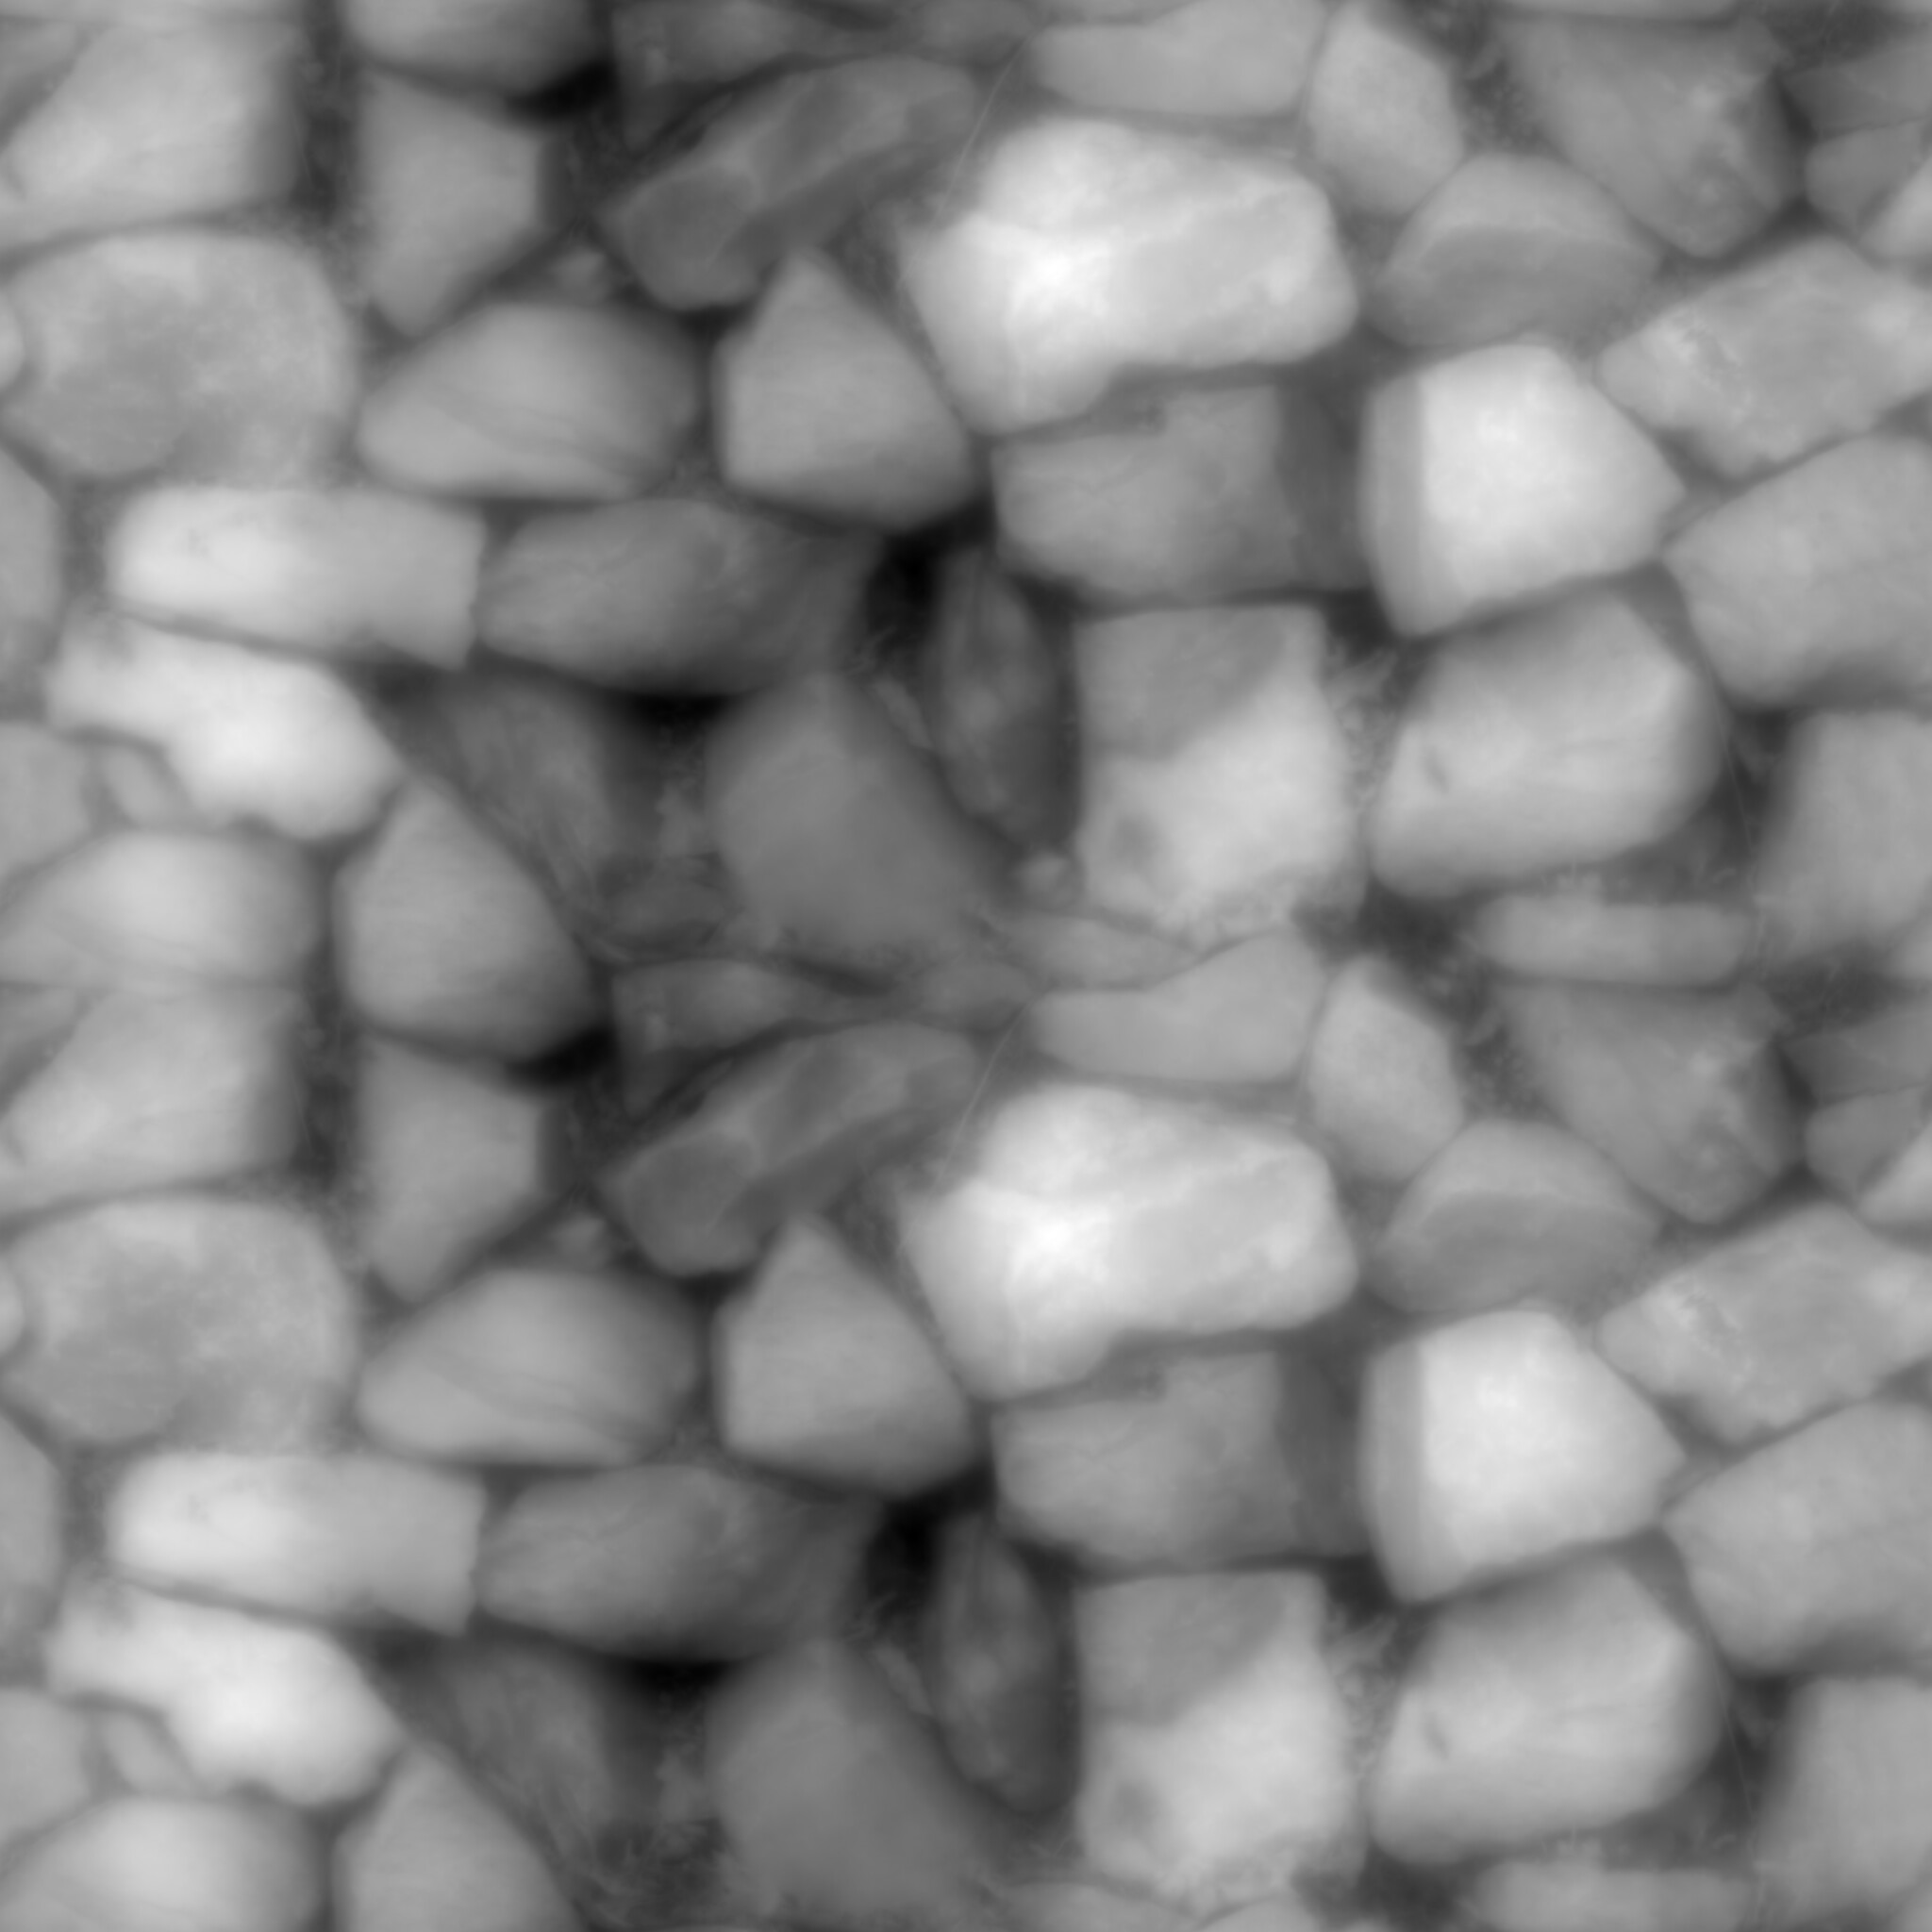
Height mapping better expresses the height of the material by controlling the offset of the texture, and the displacement effect is achieved by setting the texture coordinates. In the texture, white indicates high and black indicates low. By the combination of height mapping and normal mapping, you will get the displacement effect.
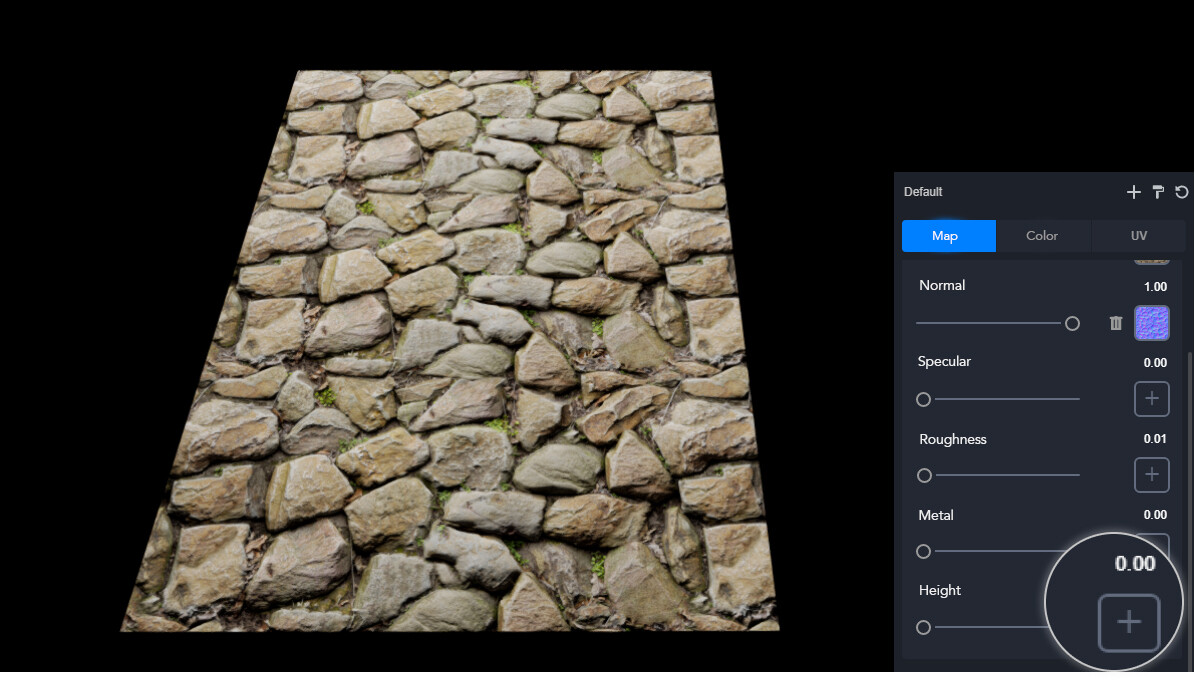
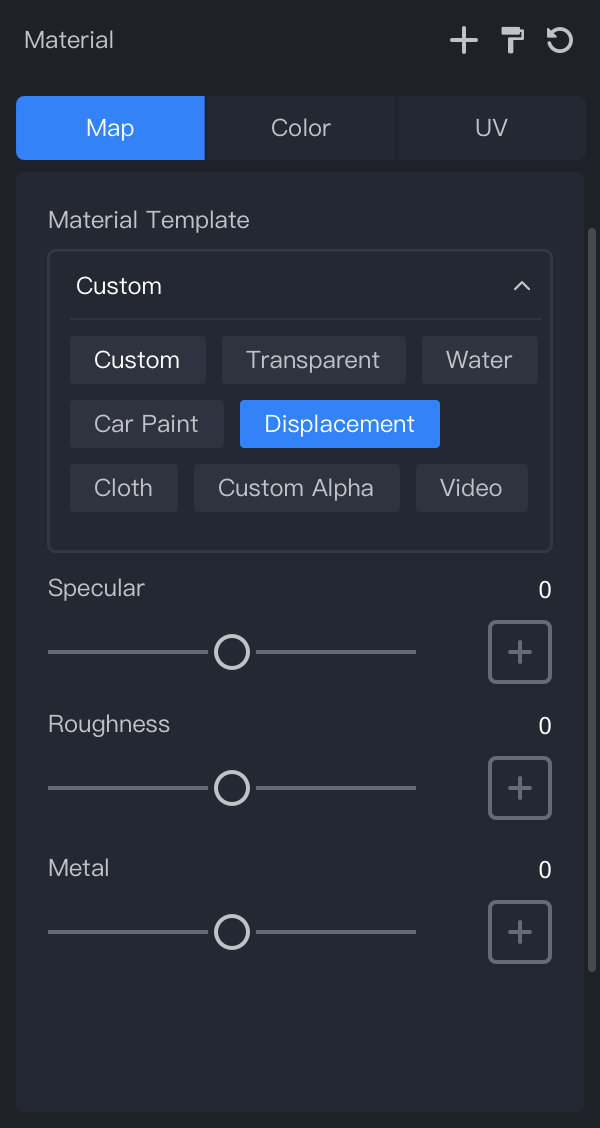
In D5 Render, in the Material Inspector, select “displacement” from the material template, upload the corresponding texture and adjust the parameters to achieve the displacement effect.
Three mappings are required to achieve the displacement effect -
- Texture(BaseColor/Diffuse): provides diffuse reflection information
- Normal: a blue-violet map that provides information about the normal orientation of the surface, required for the lighting calculation. The parameter should be set to 1.
- Height: a black and white map that provides information about the offset of the texture.
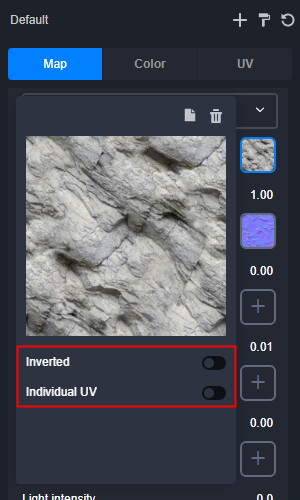
Since textures of Displacement are usually completely corresponding, Individual UV adjustment is not available for Displacement materials in D5 Render. The UV parameter can be adjusted as a whole in the UV panel to improve efficiency.
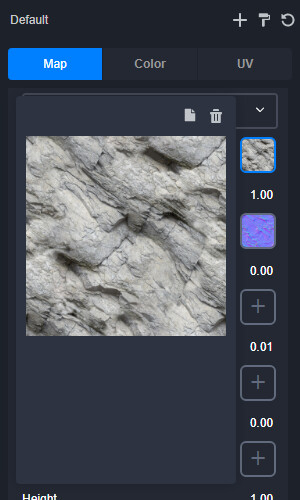
Individual UV panel when the material template is Displacement.
Individual UV panel when the material template is Custom.
Recommended texture web:
CC0 Textures - Free Public Domain PBR Materials
Reference: