At the moment I have not encountered the problems you are mentioning, which assets are giving you the problem?
Thanks for your reply mate!
It seems after the update I have lost access to my whole assets library
I remember at some point I had a “unable to fetch library” issue, and I followed some comments within the forum to fixed and worked, I had to add back then 2 lines of text into a .Config file, I tried to find the same post now but been unable to find it now.
Problem have been solved! thank you!
… update is here!
is there any option to update immediately?
Very cool update.
Have an issue and question.
-
Issue. When press ctrl+H for hiding object new grid from scatter appears and disappears, like I click button in scatter instrument.
-
Question. How can I save or duplicate scatter. Or do preset to move to another project or on same project. I want to create new scatter but with some changes.
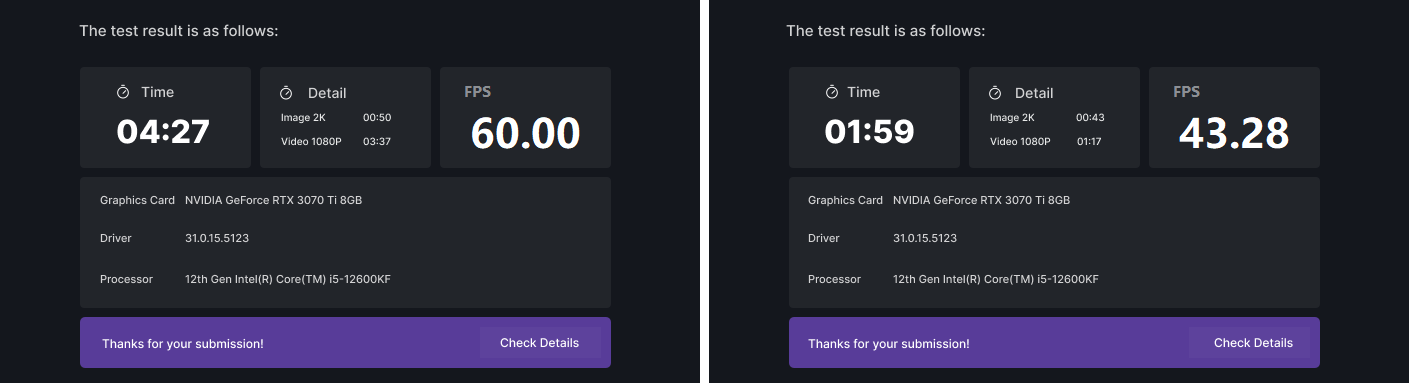
The significant improvement in rendering speed appears largely in favor of video and less in favor of images
It would have been better to improve the images further
…
image 2k from 50 sec to 43 sec time rendring…video from 3 min to 1 !!!
Hello everyone
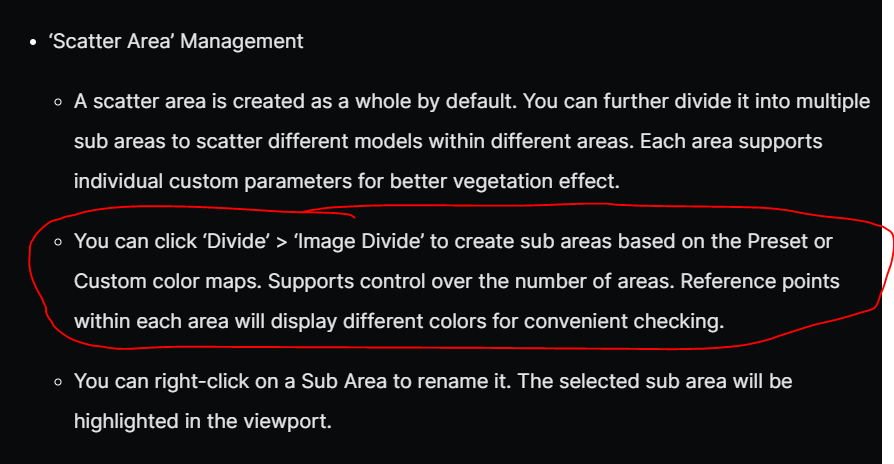
Does anyone know how to divide an area with the scatter area manager to create different sub areas as stated in the news section?
I attach an image where it explains it, but I don’t know where to click on divide
thank you for the great update.
I have tested many features today,
- the new walking animation is excellent, much much better than before,
- AI atmosphere match is much more accurate now,
- the new grass material is really great.
- the new volumetric light was much needed and much better than before.
- the frame generation is oddly great, 2x better performance for me.
- light type switch is better than I expected. I always needed that,
- added video templates are weird, but I like how they added something that I could never think of, but now I will probably use a lot. this can be fun.
- the viewport navigation optimization is a typical “quality of life improvement” which no one asked for, but everyone would appreciate.
- new local asset library tools are great for freaks like me who like everything clean.
- new walk mode can walk through narrow areas which I needed a lot honestly.
all and all, an amazing update as suspected.
now, I didn’t like you didn’t add any starter credit for text to object, but I appreciate the recommended part, would’ve been better if could already download and use the recommendations as well.
one suggestion: you name every workflow plugin as “Latest” which is not really typical. as you never know when new update arrives.
Type Currently Unsupported
there are two kinds of D5 scatter presets: Content (flower icon) and Global (the other icon, i think it’s house and a lawn or something)
- when you want to use a global, you just select it in asset library and deploy.
- when you want to use a content, first you create new scatter using x, then you press the flower icon and choose the content preset.
if you try to use them the other way around, it says “Type Currently Unsupported.”
2 Likes
Does anyone know how to divide an area with the scatter area manager to create different sub areas as stated in the news section?
Hi. the Division is based on image. when you select on area on the scatter area list (whether the area, or sub area) there is an option beneath where you can use a custom image or use on of the presets. D5 uses the image to divide areas based on color. you can even choose how many areas you want (it depends on number of colors in the map you choosing, i.e. you cannot divide it to 5 area if you have 3 colors on your map)
there are plenty of designs in presets, and you can also use photoshop to make your own design. for example you use your exterior plan and photoshop and use different areas for different kind of assets.
here is a test I made in photoshop:

as you can see there are four colors and I can assign different sets of shrubs and grass to each of these colors.
2 Likes
thank you very much for your answer.
In fact I wanted to know how make this subareas for practice with my own scatters maps.
One of the work that I am doing is create a render of any area in the top view and in photoshop create a colors map for this area.
after I can apply this map in the scatter and work specific areas that I want.
I belive that is a powerful tool and I am enjoing a lot.
Again thanks for your time and best regards from Spain.
1 Like
At the moment, I cannot see the advantage of this approach.
Isn’t it easier and quicker to design the different areas in the modelling software?
1 Like
it depends, it may be easier in some cases, but imagine you have a huge area and your system is not the strongest. you can just plan everything in autocad, the bring it to photoshop and do the coloring, and lastly, let D5 do its magic.
I know I don’t have a huge project right now, but even that, the fact that there are presets I can choose is calming. these presets are created by D5 excellent exterior architects and you can trust them. also, the fact the randomization has better purpose now, makes your visuals feel better. let me show you an example:

just look at this material ID. look at diversity of the plants.
this is better than the fill option we had before. much better.
1 Like
Thank you for the detailed explanations.
I will look into the subject in more detail.
I hope to see a tutorial on this topic from the D5 team soon.
Bye
Andreas
2 Likes
i don’t know if my workflow be the best option.
before d5 render I used to use itoo software for vegetation scatter, but from D5 render is the best option for me to do this part of my work.
If I don´t use the subarea option, I think that the unique way to have more control for the scatter is painter manually the vegetation(as I usally before of scatter tool) or in my case in 3ds Max subdivide the mesh depend the use that I want apply in my scenes.
so I am sure that made a color map to create different subareas to assignt the vegetation is a fast way to have control in my scatter distribution.
maybe exists another way to do this, but now with this new tool and his configurations and options for me is more friendly
thanks for your comment, becouse is good to know another point of view about the workflows with D5 render.
Best regards from Spain.
1 Like
Great improvements, the lighting section really allows you to create incredible images. Besides the addition of new languages show the interest to reach more people. Excellent update.
hey there are 2 bug found after the hotfix 2.7 … 1) cannot pick material correctly it was working perfectly before. 2) when rendering… the approx time is showing different like 8 mins for a test render and renders in 30 secs
Wishlist (for interiors):
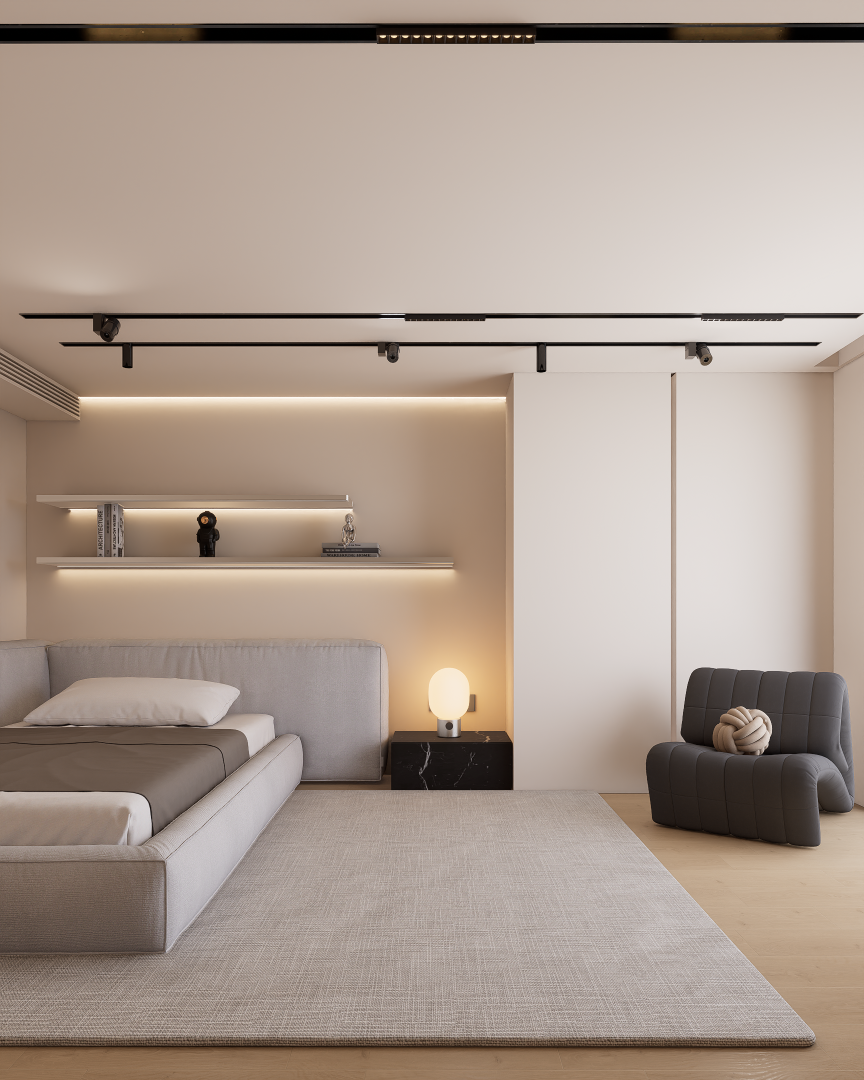
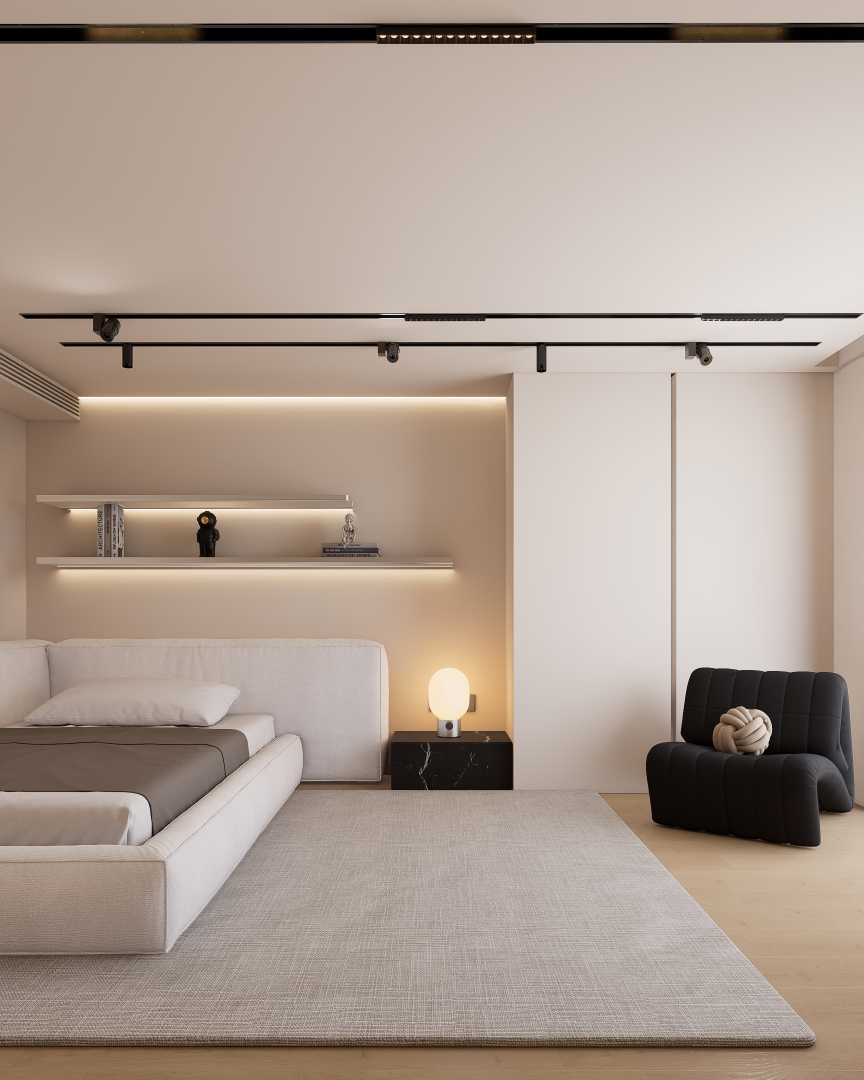
While working on an interior design project in D5 2.7 i found some issues and i’d like to share a wisthlist of things i believe need improvements for interior scenes.
-
All presets should have same material options
- A preset (like Custom, Displacement, Cloth, etc) should populate relevant maps for particular preset, but all other slots should be the same and available for creating custom materials.
- All maps should have the option to adjust Individual UVs individually.
-
Secondary bump/normal map for Cloth materials
- There should be a base bump for the fabric itself.
- A secondary bump for the folds/creases to achieve more realistic results.
-
Skatter for non-vegetation assets
- Add the option to use non-vegetation assets for skattering. This could be useful for creating furry objects like carpets, pillows and blankets.
- If the Generating Direction is set to Along Normal, the scattering should be applied on the all sides of the object (sides and bottom as well).
-
AO pass should be white
- When generating an AO pass, the background should always be pure white and not be affected by the lighting/exposure of the scene.
- (This should also be the case for the outline mode.)
-
Cloth material fix
- When changing a material preset from Custom to Cloth, the whole surface with that material becomes much brighter. Even if the falloff is set to 0 the material is still brighter than the Custom material. This should not be the case. The Cloth material should keep the texture color exactly as chosen and only brighten up the areas where falloff angle is highest. The falloff slider should then serve as an adjustment for that falloff angle.
- Examples shown bellow:
- 1st image - Bed with Custom, Chair with Cloth material
- 2nd image - Bed with Cloth (falloff is 0), Chair with Custom material
-
Material Preview window
- A preview window similar to Vray or Corona where a material can be set in neutral lighting conditions. Very important in cases where a particular color of material needs to be presented to clients.
- Sphere, cube, cylinder, plane and cloth preview types should be available to get a better sense of material maps/properties.
-
Round Corner improvement
- Round Corner parameter should be available to all material types.
- Additional parameters should be implemented
- Per Material - corner is rounded only to objects using the same material (for example a wall paint material is not rounding the edge at the contact with the light switch placed on the wall. At the same time, if a round corner is set on the light switch material it would create a nice little shadow between the switch and the wall).
- Per Object - this would behave exactly as if every edge of a solid was rounded in the modeling software. For example, if we have a kitchen cabinet consisting of side boards and top and bottom board, then a round corner would be created between those individual pieces. This would eliminate the need of creating additional geometry in the model where seams between cabinet pieces need to be visible for more realism.
Thank You to developers working hard in making this one of the best rendering programs out there and i can’t wait for the next update to see if any of the items listed here get implemented. ![]()
1 Like